Getting Started with Writing Code in Salesforce Developer Console
Salesforce provides a powerful cloud-based platform for developing applications, and the Salesforce Developer Console is a built-in tool that allows developers to write, test, and debug Apex code efficiently. For those getting started with writing code in Salesforce Developer Console, this guide will provide a solid foundation.
Enhance your expertise with Salesforce Online Training in Admin, Developer, and AI modules. Gain practical experience with real-world projects to master Salesforce solutions on your career growth.
What is Salesforce Developer Console?
The Salesforce Developer Console is an integrated development environment (IDE) within Salesforce that allows developers to:
Write Apex classes and triggers
Execute SOQL (Salesforce Object Query Language) queries
Debug and analyze logs
Run test classes for Apex code
Monitor performance and troubleshoot issues
Now, let’s dive into the steps to start writing a program in the Salesforce Developer Console.
Steps to Write a Program in Salesforce Developer Console
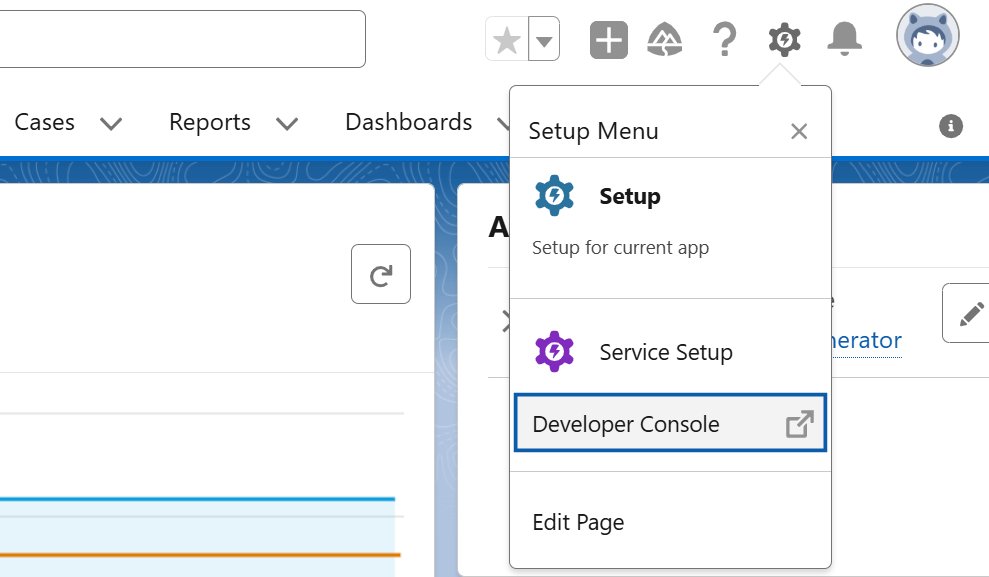
Step 1: Open the Salesforce Developer Console
1. Log in to your Salesforce org.
2. Click on your profile icon (top-right corner).
3. Select Developer Console from the dropdown.
This will open the Developer Console in a new window.
Step 2: Open the Correct Tab to Write Code
Creating a New Apex Class
If you want to write a new Apex class, follow these steps:
1. Click on File → New → Apex Class.
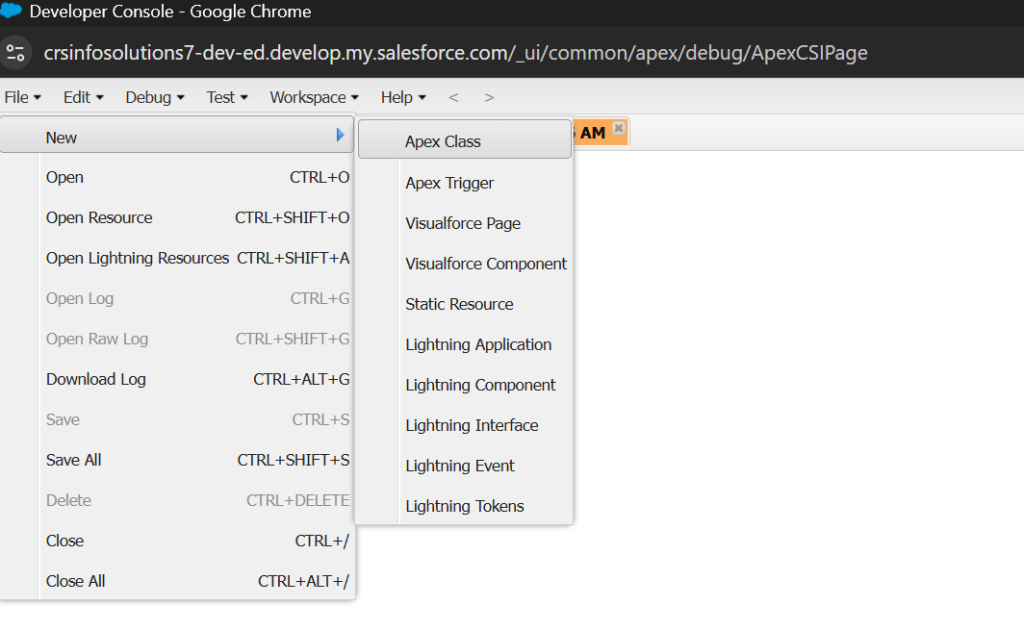
2. A pop-up window will appear. Enter a name for your class (e.g., MyFirstClass).
3. Click OK.
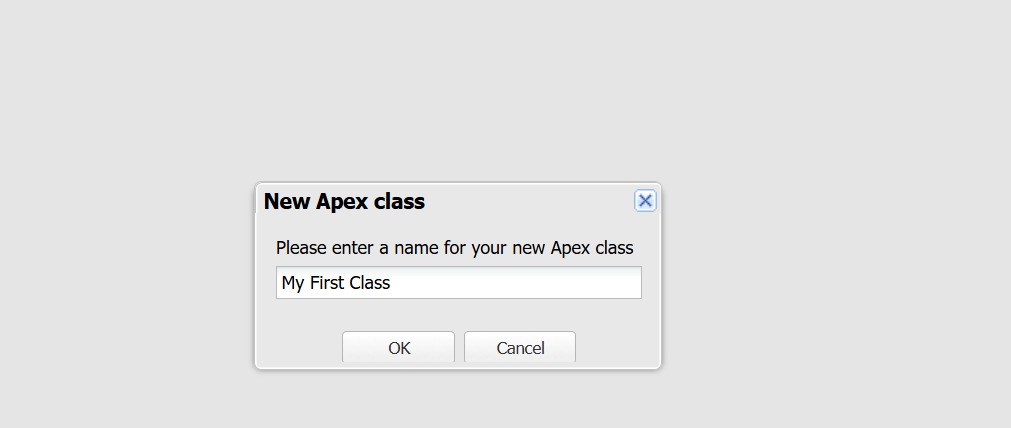
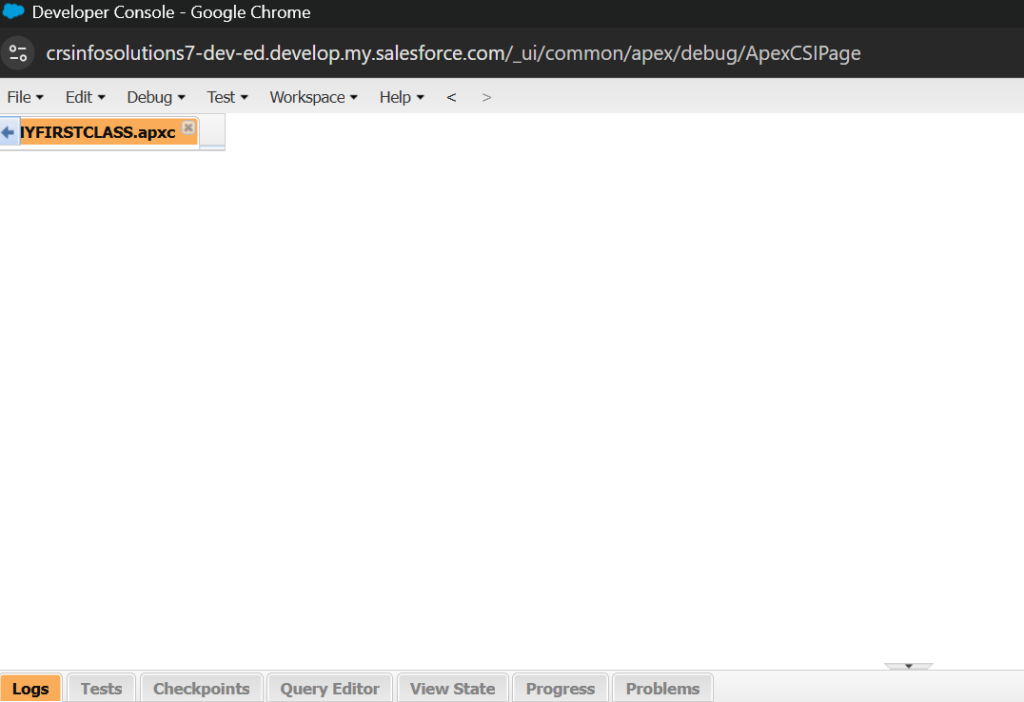
4. A new tab will open in the Developer Console where you can write your Apex code.
Example: Writing a Simple Apex Class
Now, type the following code in the newly opened tab:
public class MyFirstClass {
    public static void sayHello() {
        System.debug('Hello, Salesforce Developer!');
    }
}
public class MyFirstClass→ Declares the class.public static void sayHello()→ Defines a method that prints a message.System.debug('Hello, Salesforce Developer!');→ Logs the message to the debug log.
This creates a class named MyFirstClass.
It has a method sayHello() that prints a message in the debug log.
Step 3: Save the Apex Code
Once you have written the code:
1. Click File → Save OR press Ctrl + S (Windows) / Cmd + S (Mac).
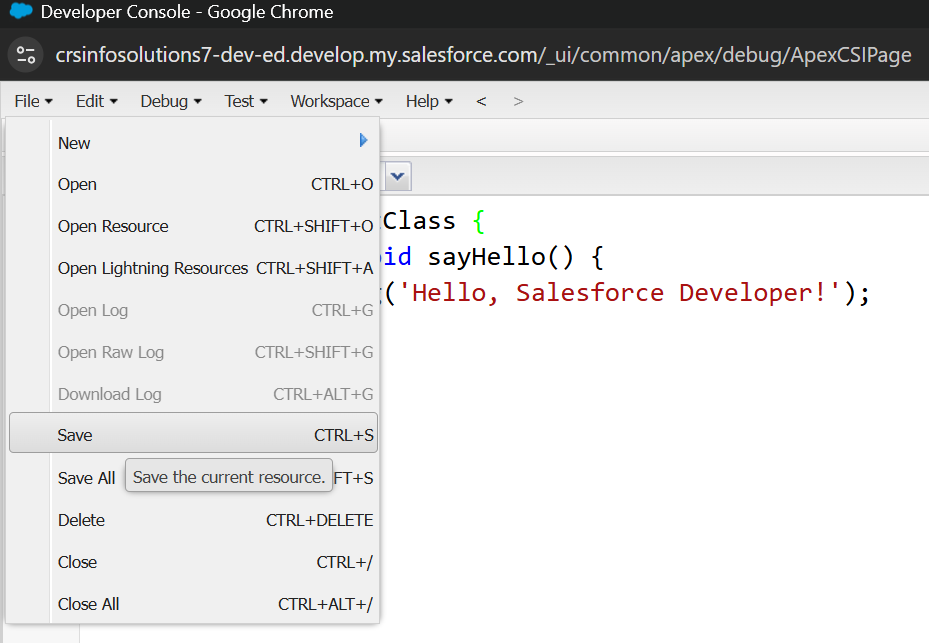
2. If there are no errors, the code will be saved successfully.
Step 4: Open the Execute Anonymous Window
To run the Apex method, use the Execute Anonymous Window.
How to Open Execute Anonymous Window?
1. Click on Debug → Open Execute Anonymous Window.
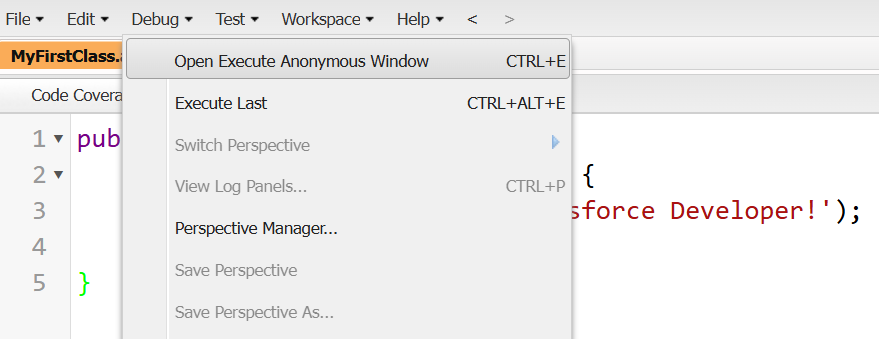
2. A new pop-up window will appear.
Step 5: Write Code to Execute the Class Method
In the Execute Anonymous Window, type the following code:
MyFirstClass.sayHello();This calls the method inside the class you created.
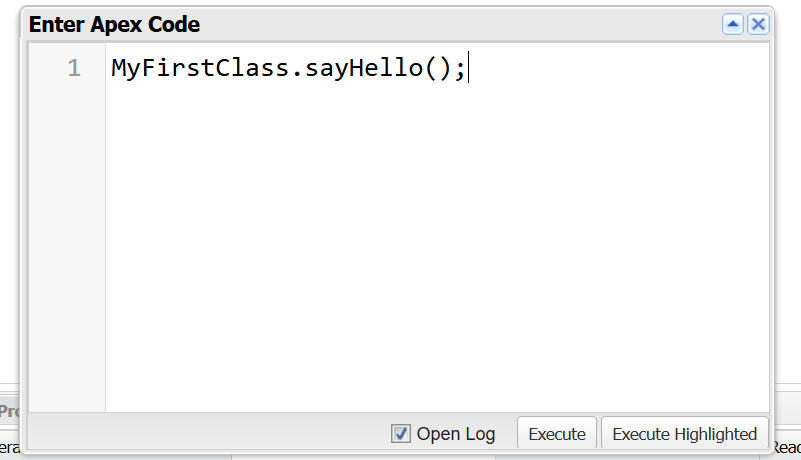
Step 6: Execute the Code
1. Click the Execute button.
2. The code runs immediately, and the output is recorded in the Debug Logs.
Step 7: Check the Debug Logs for Output
To see the output:
1. Click Logs (bottom panel in Developer Console).
2. Select the latest log entry.
3. In the log file, search for System.debug output.
You should see:
CopyEditHello, Salesforce Developer!
Hello, Salesforce Developer!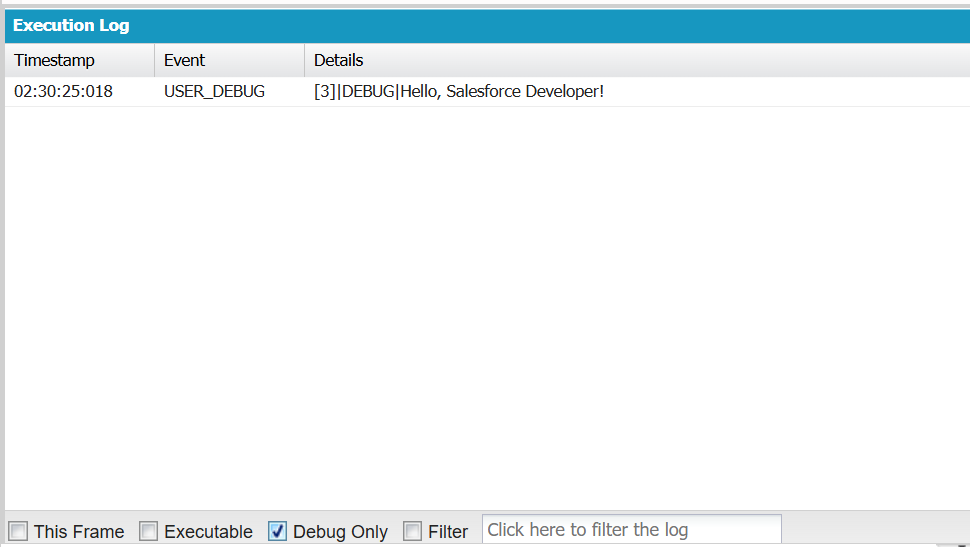
Bonus: Running SOQL Queries in Developer Console
If you need to fetch records from Salesforce, use the Query Editor.
How to Open the Query Editor?
1. Click on Query Editor at the bottom of the Developer Console.
2. Enter a SOQL query.
SELECT Id, Name FROM Account LIMIT 103. Click Execute to fetch records.
Summary of Tabs to Open at Each Step
| Step | Action | Tabs to Open |
|---|---|---|
| Step 1 | Open Developer Console | None (Opens Developer Console Window) |
| Step 2 | Create a new Apex class | Apex Class Editor Tab (e.g., MyFirstClass.cls) |
| Step 3 | Save the class | Apex Class Editor Tab remains open |
| Step 4 | Open Execute Anonymous Window | Execute Anonymous Tab |
| Step 5 | Write method execution code | Execute Anonymous Tab remains open |
| Step 6 | Execute the code | Logs Tab opens automatically |
| Step 7 | Check output in Debug Logs | Logs Tab |
Additional Features in Developer Console
Once you’re comfortable with the basics, explore the following features:
1. SOQL Queries → Run database queries using Query Editor.
2. Debug Logs → Analyze execution flow and troubleshoot errors.
3. Apex Test Execution → Test your code with unit tests.
4. Triggers → Automate processes with Apex triggers.
Conclusion
Writing and executing Apex code in the Salesforce Developer Console is simple if you follow the correct steps. You need to:
1. Open the Developer Console.
2. Create an Apex Class in the Apex Class Editor Tab.
3. Write and Save the Code.
4. Open Execute Anonymous Window to run the method.
5. Check the Debug Logs for output.
By following this structured approach, you can efficiently develop, test, and debug Apex code in Salesforce.
Elevate your career with Salesforce training in Pune.
Advance your career with expert-led Salesforce training in Pune, covering Admin, Developer, and AI modules. Our program combines theoretical knowledge with hands-on projects, real-world case studies, and industry-focused assignments to build your technical expertise and problem-solving skills.
Gain a competitive edge with personalized mentorship, interview coaching, and certification preparation. With practical exercises and in-depth study materials, you’ll be ready to tackle complex business challenges using Salesforce solutions.
Take the first step toward a successful Salesforce career in Pune—join a free demo session today.!

